April is National Facial Protection Month
April 3rd, 2024

The Importance of Facial Protection
Americans from all walks of life should mark April as National Facial Protection Month on their calendars. The American Association of Pediatric Dentistry, Academy for Sports Dentistry, American Academy of Pediatric Dentistry, and American Association of Oral and Maxillofacial Surgeons have combined forces to sponsor this annual campaign, which aims to educate and remind us of the importance of protecting our face and teeth against impacts and injuries.
Wearing a helmet can save your life and prevent devastating physical damage in a variety of situations, from playing football to riding a bicycle. According to the American Association of Oral and Maxillofacial Surgeons, helmets reduce the risk of various head injuries by as much as 85 percent. Whether helmet laws apply in your area or not, Dr. Thomas Shipley and our team at Shipley Orthodontics want you to make sure you and your loved ones wear helmets with the appropriate safety ratings for specific activities. (A sticker on or inside the helmet will usually indicate this rating.) Helmets can also help save your teeth if they come with an attached faceguard, an essential addition for football players and others involved in contact sports.
Preventing Dental Injuries
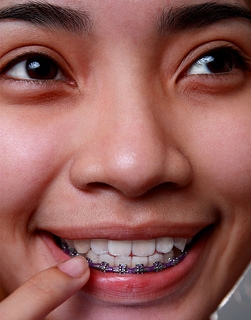
A mouthguard can protect you against a variety of dental injuries, such as cracked, broken, or knocked-out teeth. The American Dental Association states that mouthguards play an essential role in preventing up to 200,000 dental injuries each year, and many states mandate their use for sports activities such as football and hockey. The Academy for Sports Dentistry warns, however, that these mouthguards must be custom-fitted as precisely as possible to prove effective. Have a professional-quality mouthguard molded and fitted by our team at Shipley Orthodontics for better protection than a generic store-bought or “boil-and-bite” variety can offer. These cheaper versions tend to wear out quickly, interfere with proper breathing, and provide uneven degrees of cushion against impacts. Always have a fresh mouthguard fitted for each new sports season.
Choose the right combination of helmet, faceguard, and mouthguard to protect your teeth and face this April, and tell your friends to do the same! To learn more about mouthguards, or to schedule an appointment with Dr. Thomas Shipley, please give us a call at our convenient Peoria, AZ office!